7.0k
2.0k

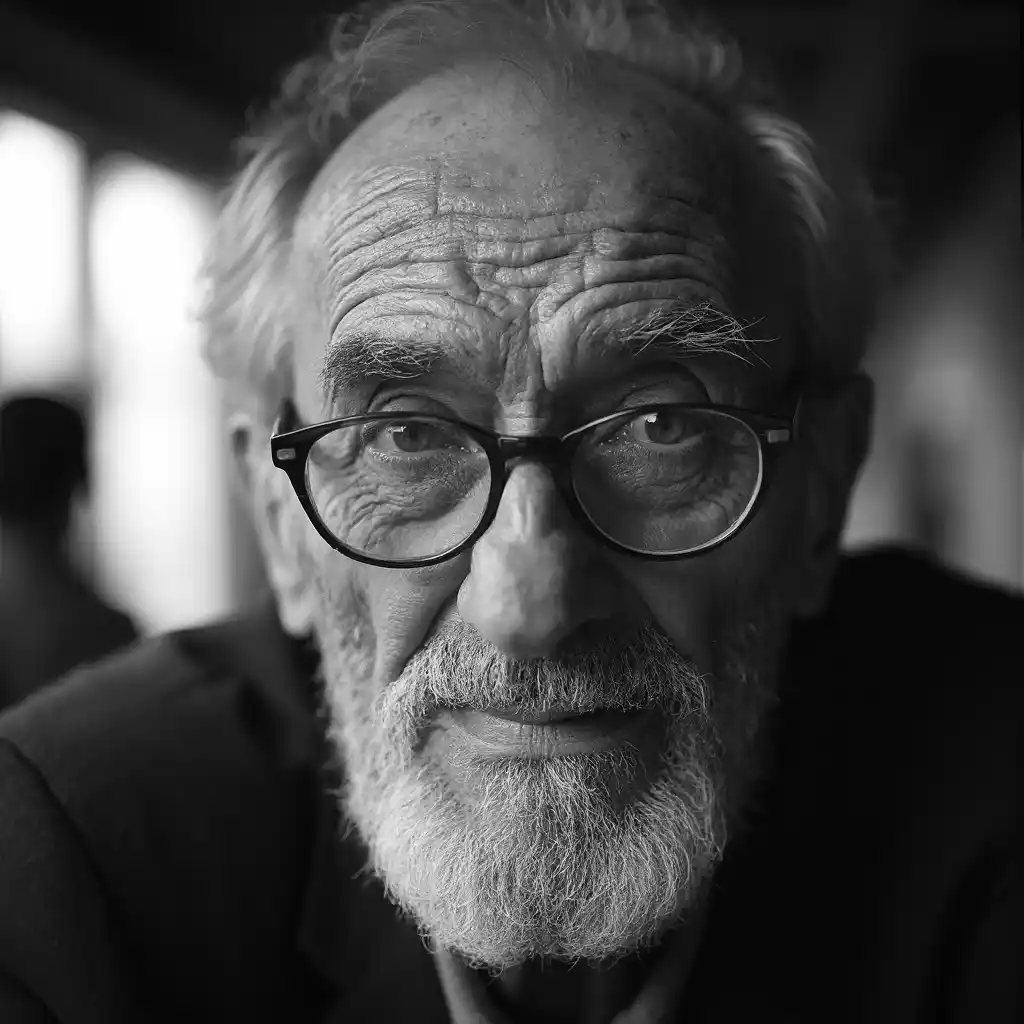
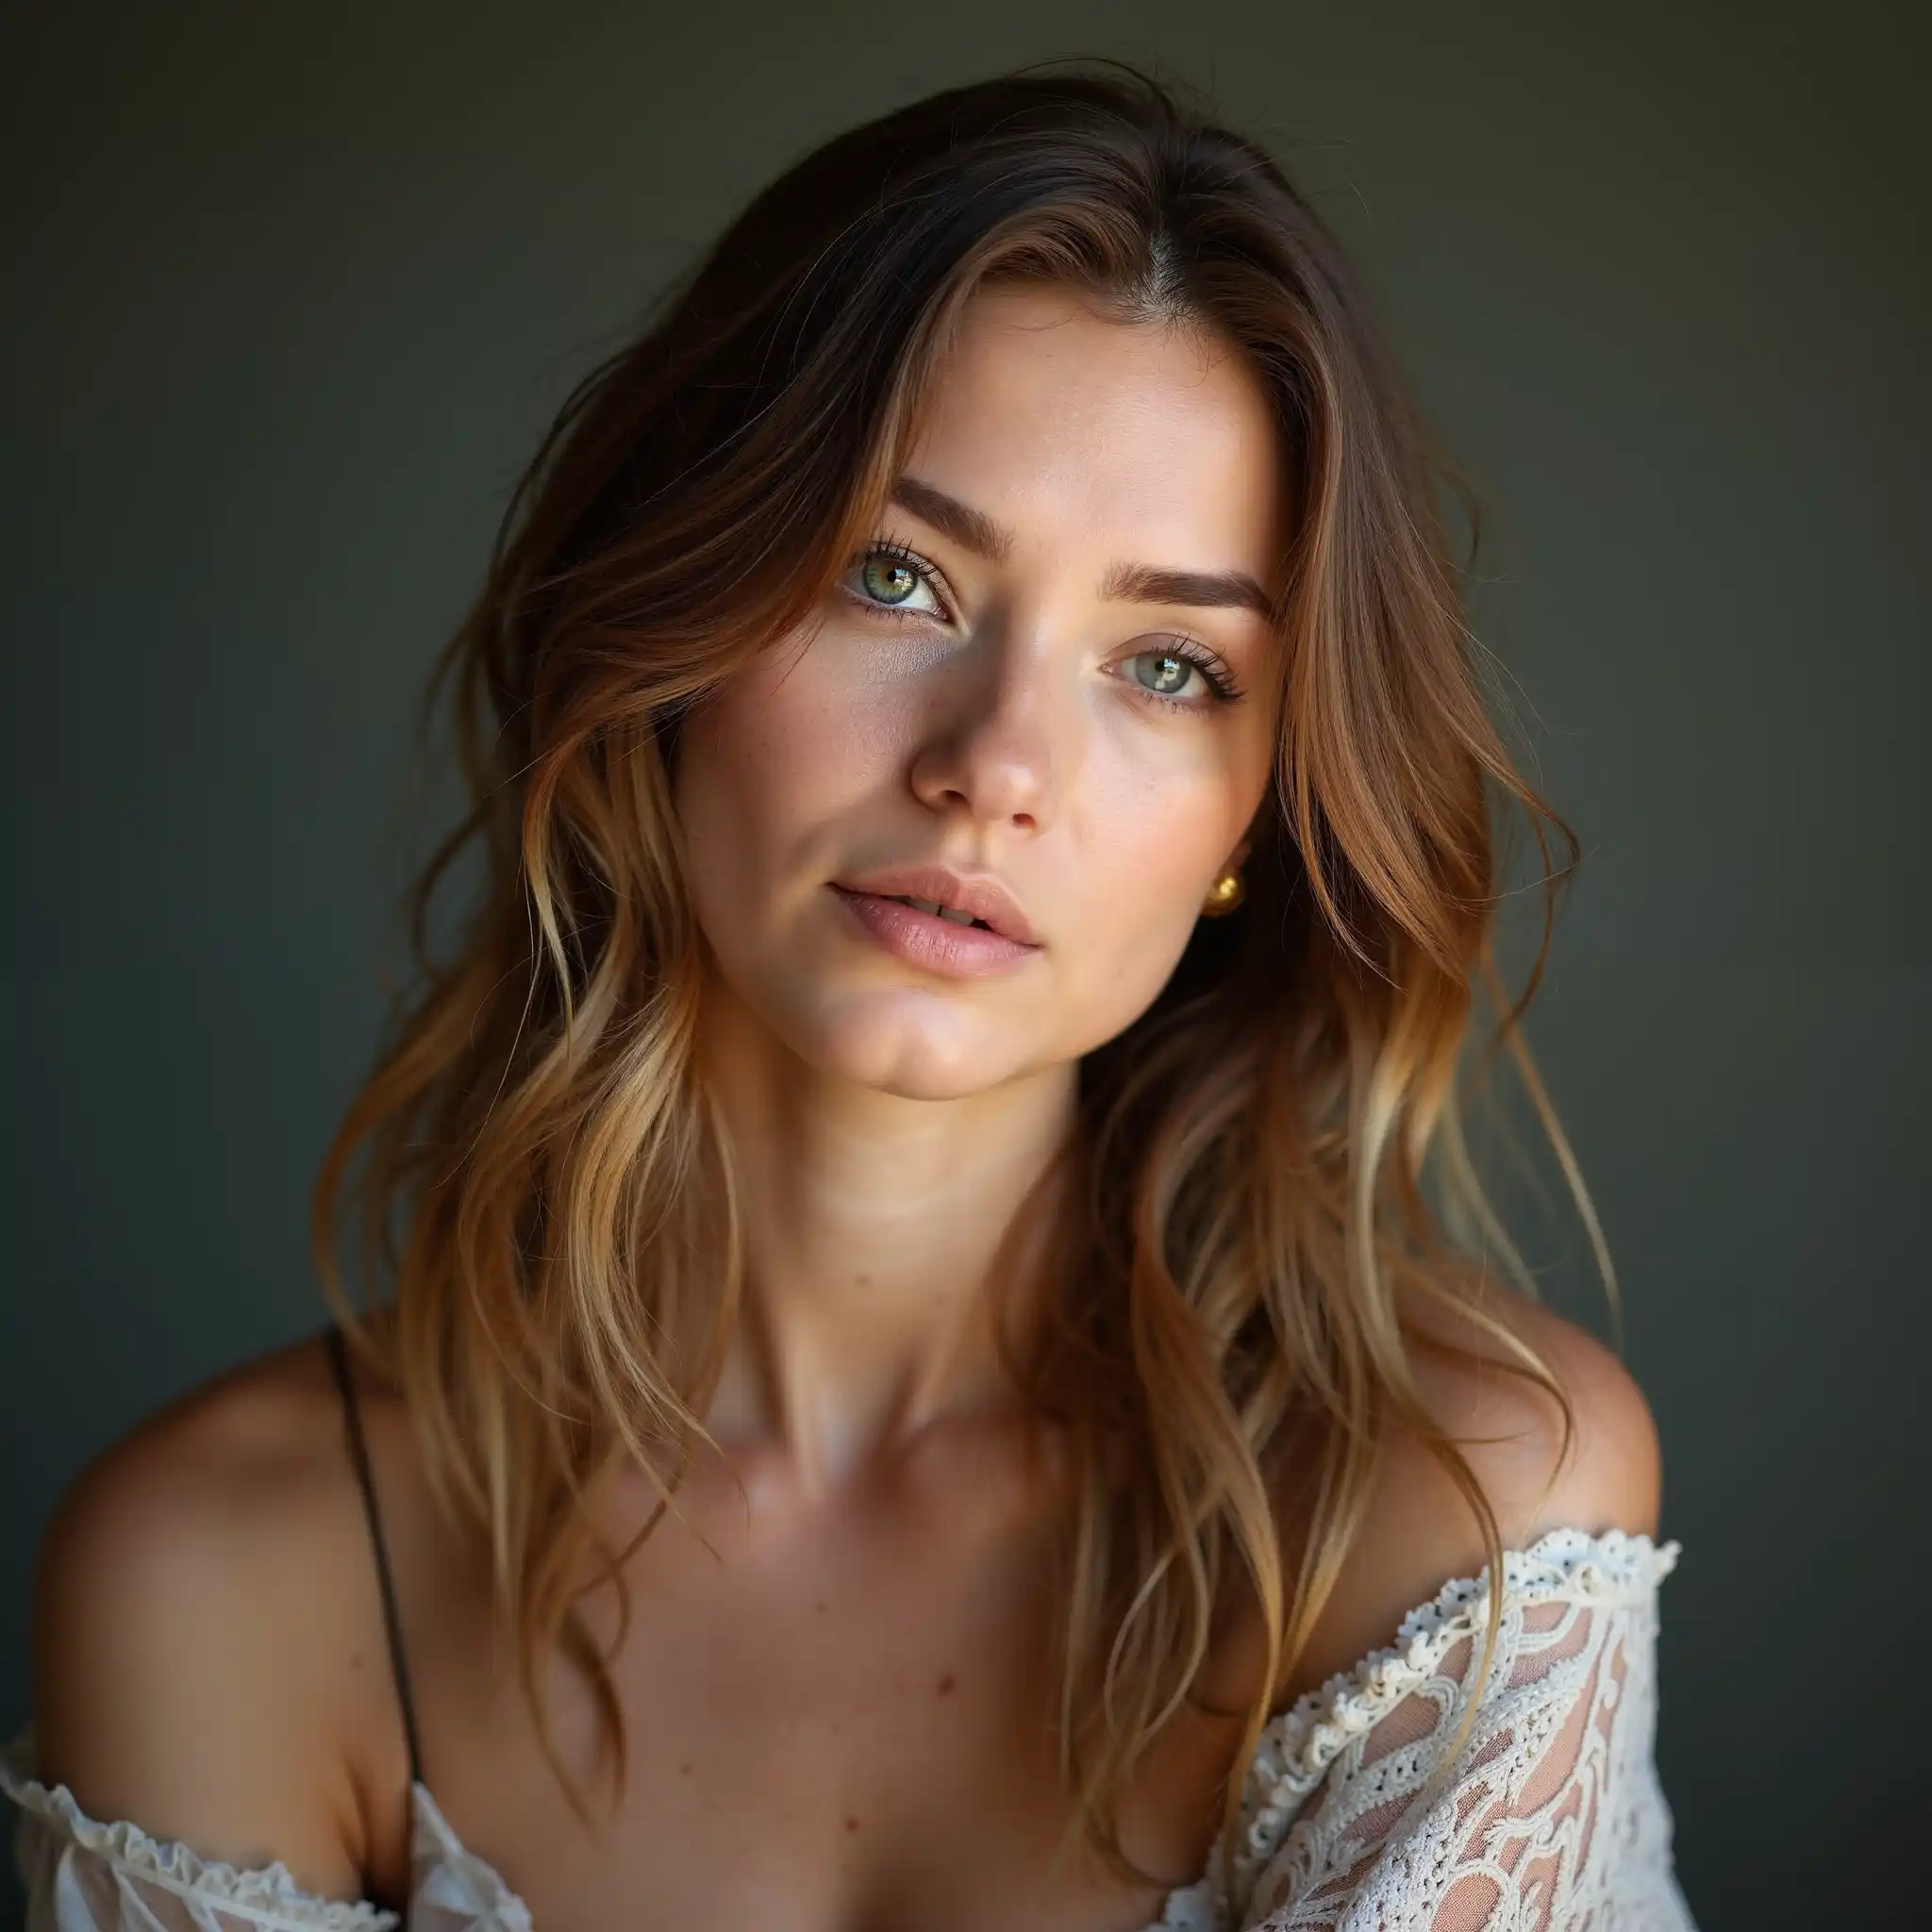
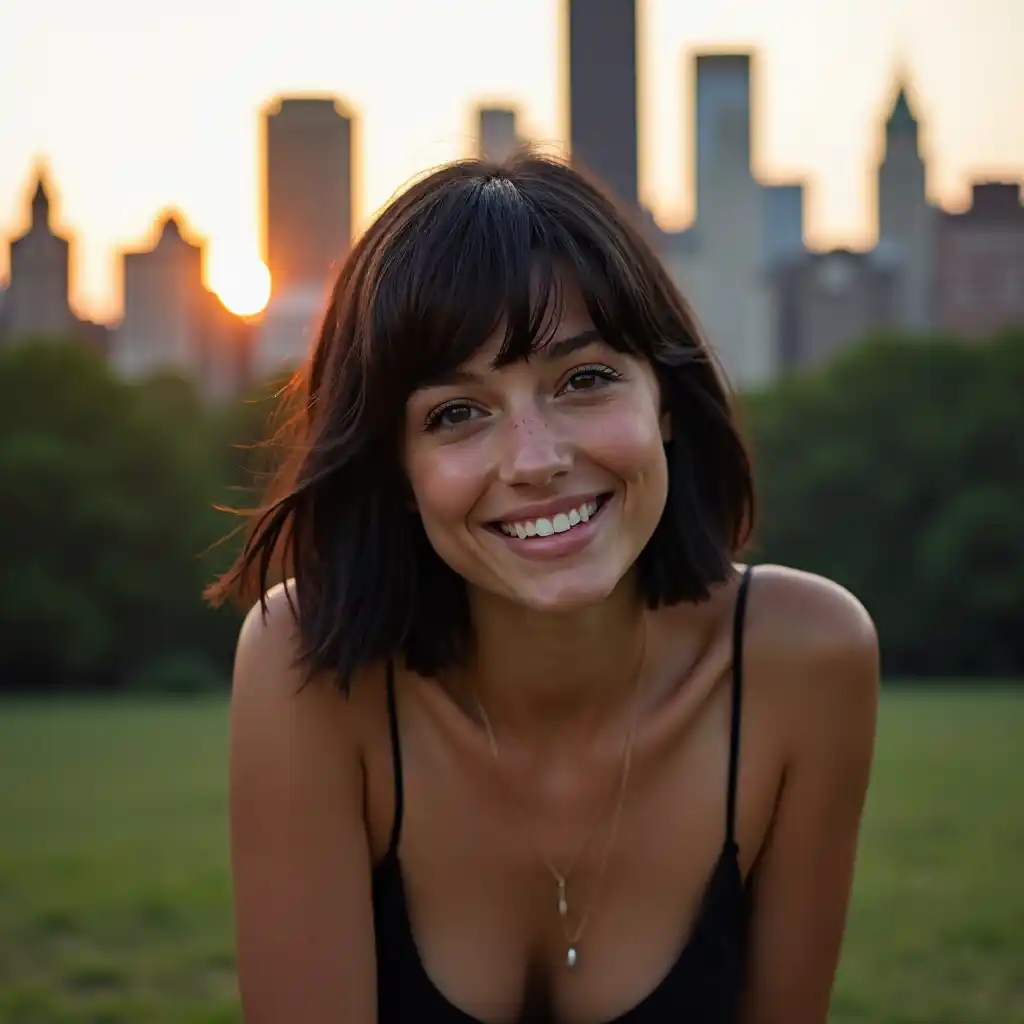

UPDATE - Dec. 7, 2024: Version 4.3 is out. It introduces Controlnet (Shakker-Labs Union Pro) and FLUX tools (Redux, Inpaint/Outpaint, Depth and Canny).
I am now working on the v.5.0 that will see a substantial change to the GUI. I post here just a quick glimpse to how it will change: https://imgur.com/a/MGiWUpY
This is a modular and easy to use ComfyUI workflow for FLUX (by Black Forest Labs. Inc.). It is still a "work in progress" as FLUX is a new model and new tools for FLUX are coming day after day.
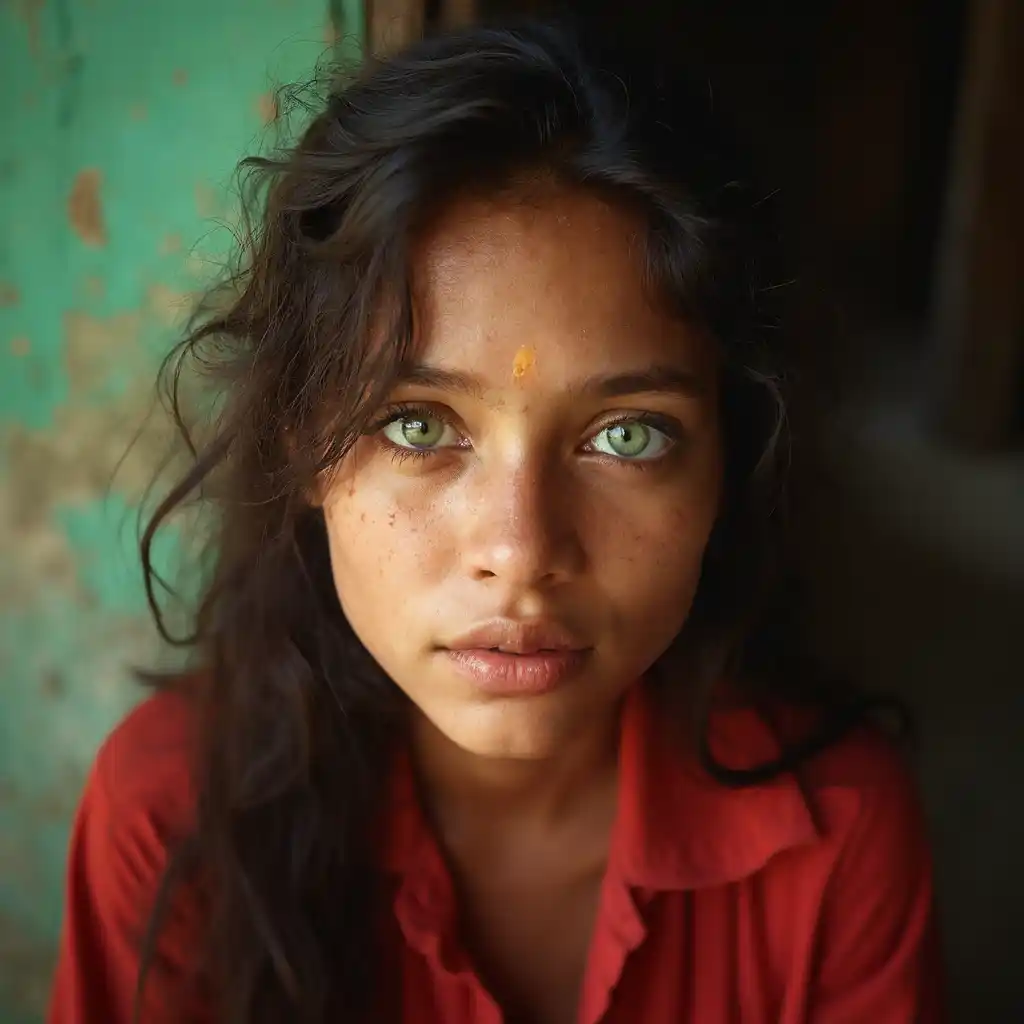
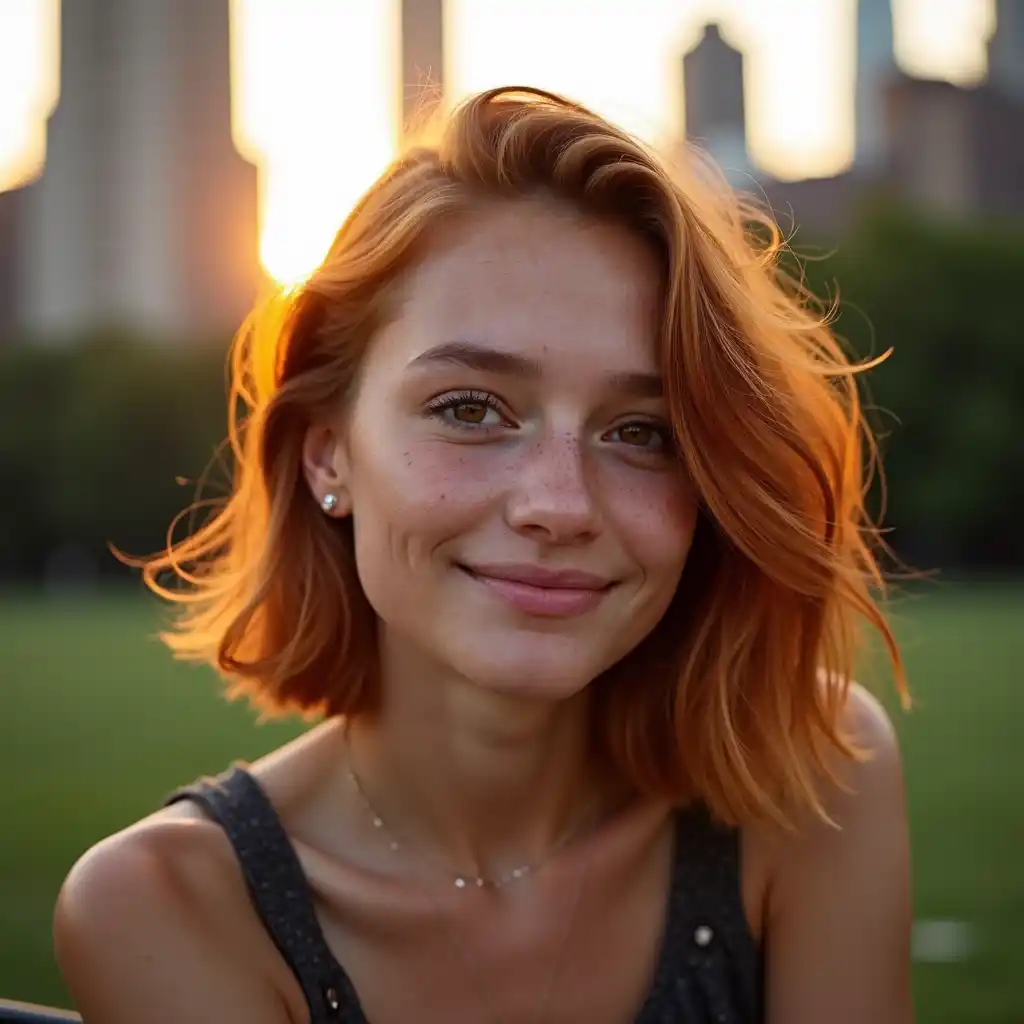
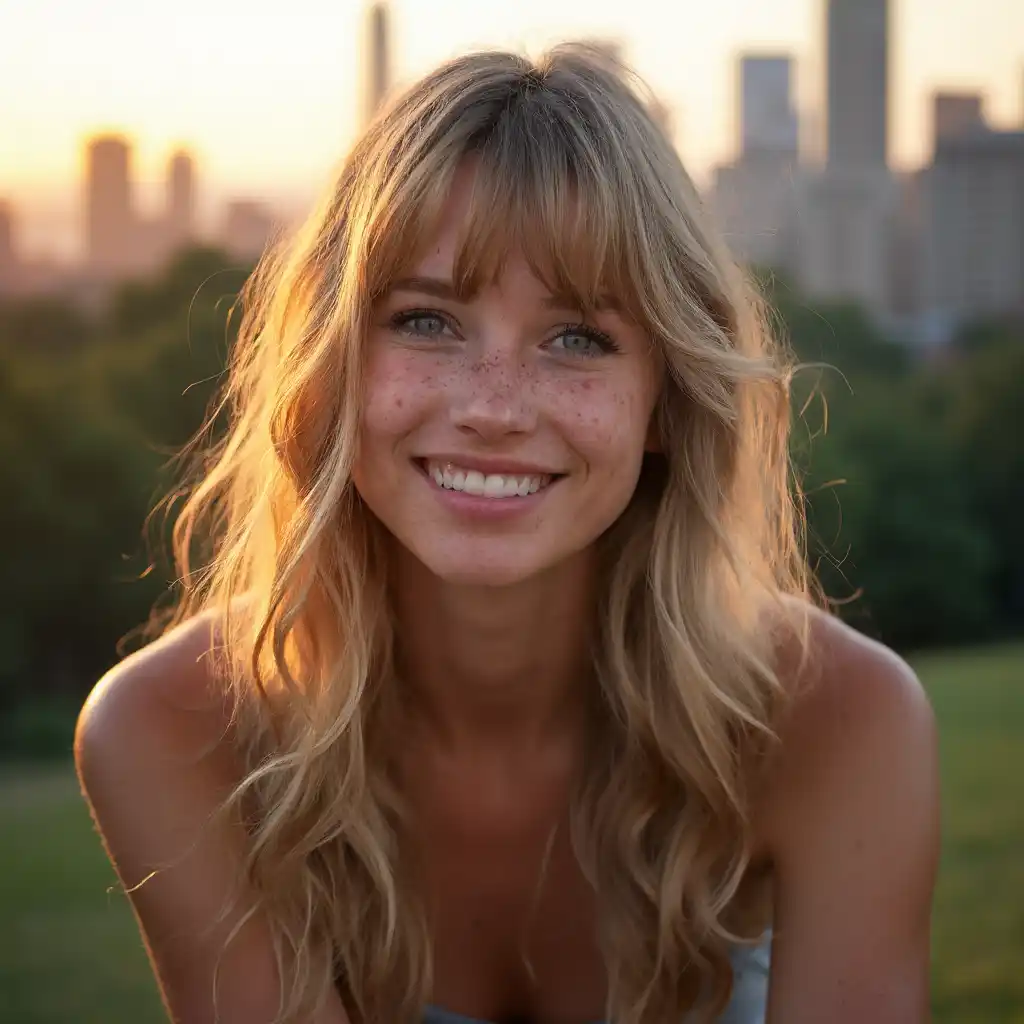
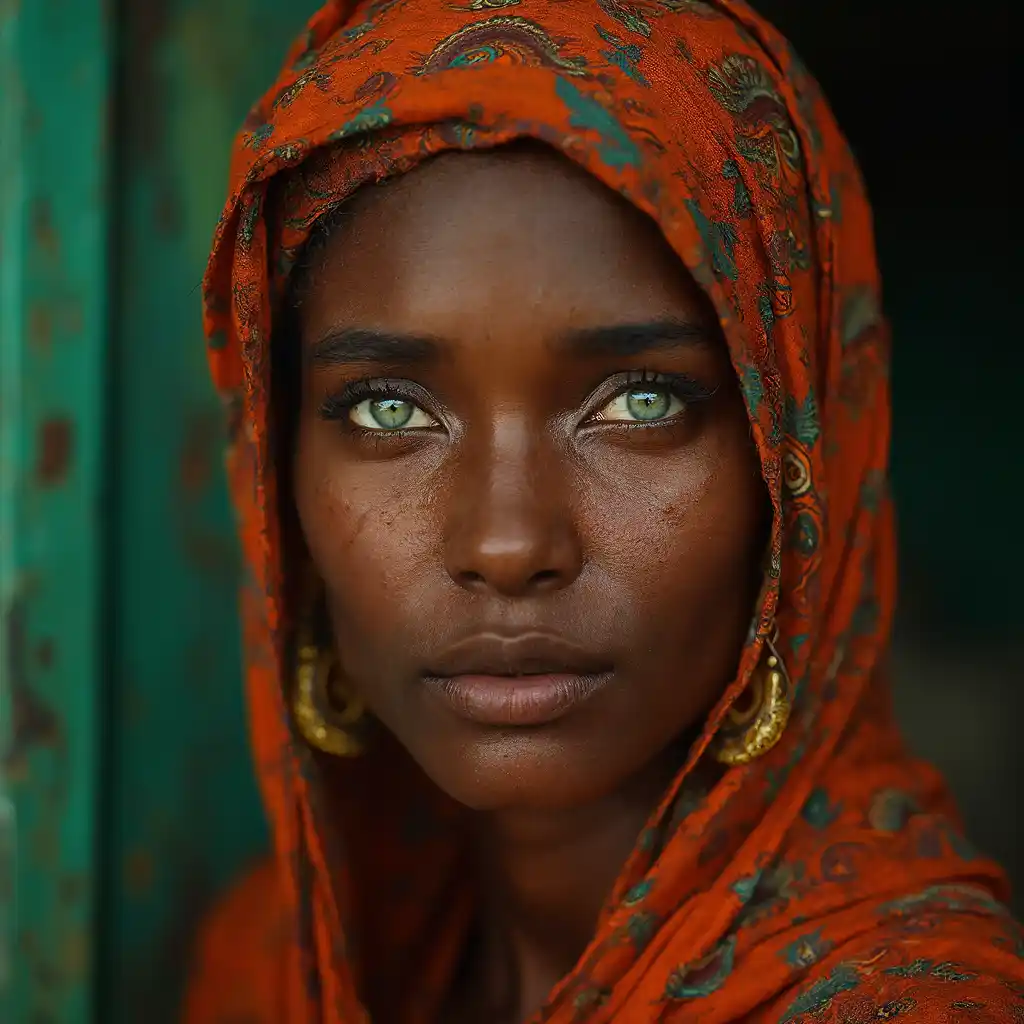
I created this workflow mostly for "realistic portrait photo" images, but it can be used for any kind of image you want to create thanks to its modularity.
The workflow is divided in several nodes' groups (modules) each with a specific color. You can find a detailed guide here: https://civitai.com/articles/6848 (now updated to v.4.0)
I will try to keep the guide updated as much as possible, but if you need a better description or explanation of its modules just let me know.
The first module (blue) is the core FLUX workflow with FLUX LoRA's loader. This workflow is based on the original UNET/Clips files release on August the 1st by Black Forest Labs. You can set everything about FLUX and its LoRA's in this module, and this is all you need to generate basic FLUX images. Prompts are managed by the green modules on top of the workflow (more about prompts below).
The red module is the "Workflow Control Center", you have a switch-node (on/off) to activate the other modules (or part of the modules) and allows you to chose the prompt method you want to use.
The green module is about prompts. There are now (v.3.2) 4 different prompt methods:
1) Classic txt2img prompt: just write your prompt (you can use also other languages, not just english. Italian, German, French and Spanish can be used and they work).
2) Img2img with Florence2 model prompt: just upload an image, the Florence2 model will generate a textual prompt from the image and the workflow will use that as a prompt.
3) LLM model generated prompt: let AI write your prompt, just input a few keywords or a brief description of what you want and let Groq (or OpenAI) write the prompt. The LLM prompt generator requires a Groq api key (free), or an OpenAI api key, that you can get at https://groq.com/ . The API key has to be saved in Comfy by using a specific node (TaraApiKeySaver) that you have to add manually anywhere in the workflow, paste the Key in It, start a generation and you are done. You can remove the node once It Is saved. (Note: Groq LLM service will not allow NSFW prompt generation).
4) Batch txt2img prompts: you just write a .txt file with all the prompts you want to use, load the .txt file and click Queue... all the prompts in the .txt file will be generated as a single batch.
Then you have the last two modules: the FaceDetailer and the Ultimate SD Upscaler.
With the FaceDetailer you can improve the details of your portraits as it will improve the realism of the skin texture according to the positive and negative prompts in the module. This module is based on a SD1.5 checkpoint and Lora as there aren't yet LoRA's with the level of detail that you could achieve with SD 1.5 for realism.
The Ultimate SD Upscaler allows you to upscale your image keeping the same level of detail of the original image.
The yellow modules in the workflow are a couple of Notes node with explanation on its use and with links to all the files you may need to run it.
Enjoy.